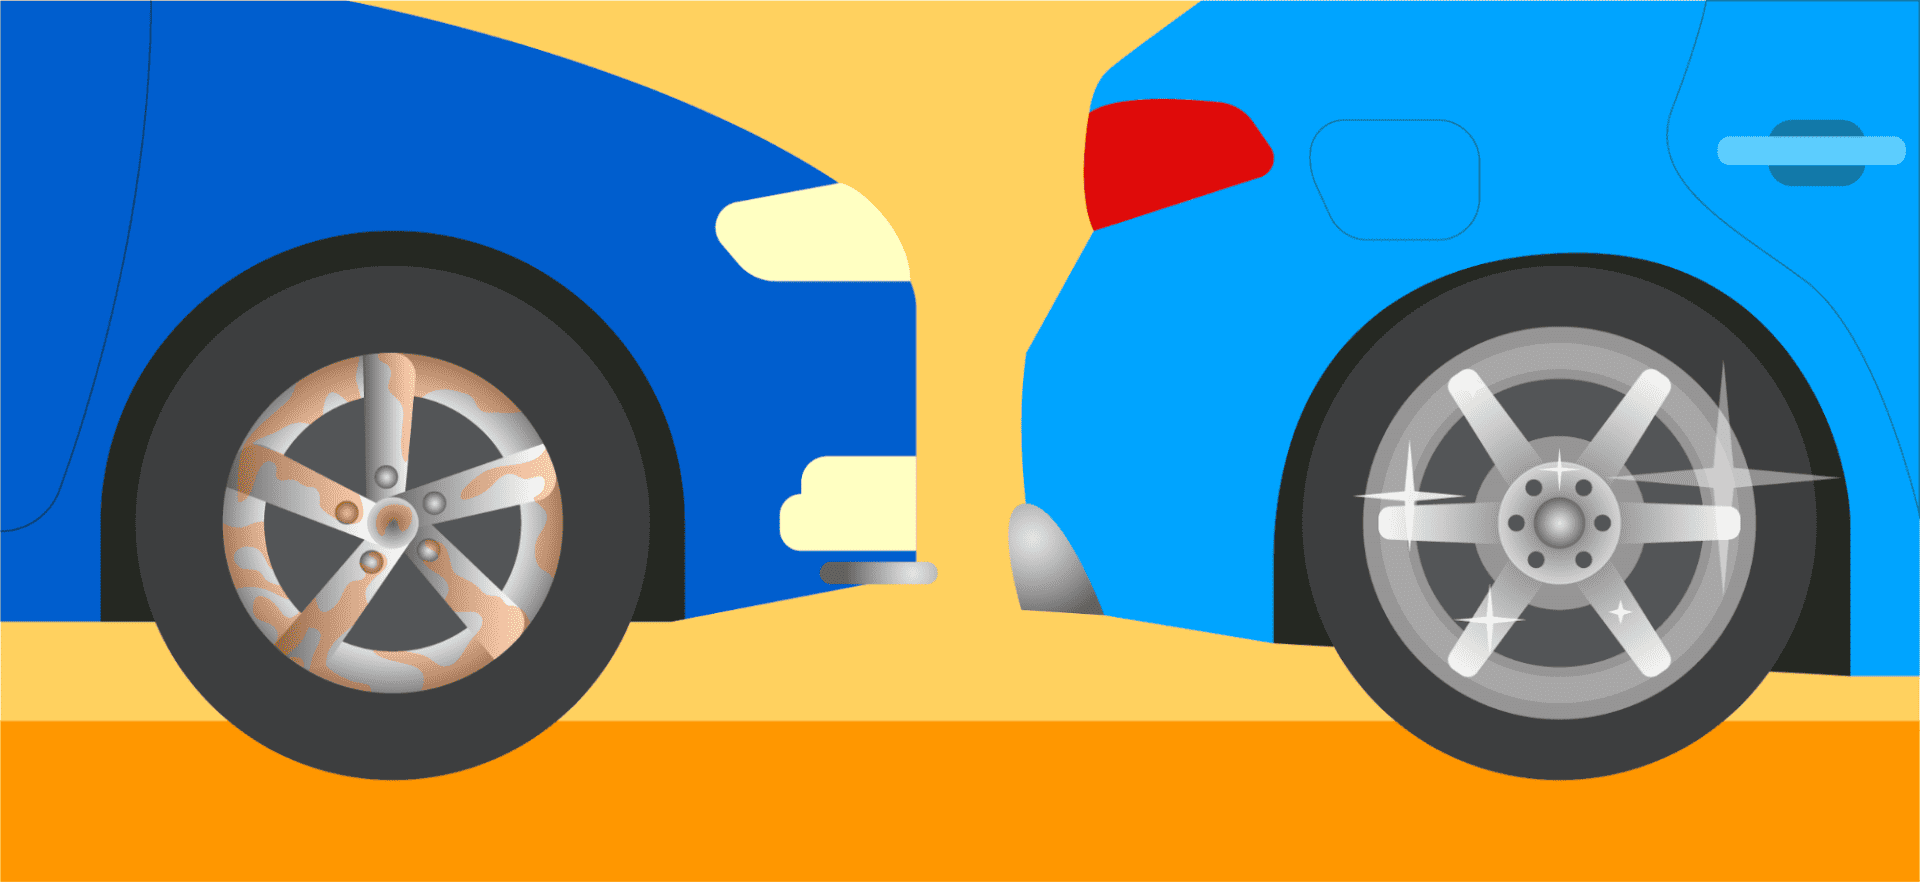
When you look at your car, does it look dirty or dull? Now run your hand over it. Does it feel gritty or uneven? Has it been exposed to tree sap, pollutants, or bird droppings?
If you answered yes to any of those questions, it may be time for a clay bar treatment. Also known as clay bar detailing, this process removes contaminants from a car’s paint finish before waxing.
The outcome? Safer, easier polishing, better waxing results, and increased shine, among other perks.
Let’s see how they work, how to do a clay bar treatment yourself, and what to look for when choosing a clay bar.
What is a Clay Bar Treatment?

A clay bar treatment is a detailing process that eliminates pollutants and contaminants from paint and any other surface material on the outside of your car. The clay bar itself is an engineered resin mixture made from natural or synthetic clay. Its consistency allows it to hold onto impurities. When the clay bar is glided or stretched across the car’s surface, it pulls out the debris that wouldn’t come off with a simple scrub.
Clay bar treatments remove stubborn dirt, tar, brake dust, and other contaminants from a car’s paintwork. It can also be used to get sap off a car. Over time, these contaminants can become embedded in the paint and go all the way into the metal. If that happens, your car’s finish may look dull and rough even after thorough washing.
Clay bar treatments, or clay barring, can prevent these problems from occurring in the first place. Through a deep cleanse, they help maintain the vehicle’s gloss and shine.
When done correctly, claying is safe and non-abrasive. It is also more effective than traditional cleaning products, which only work at the surface level. It can even be better for your car than polishing since it’s possible for polishing to remove a thin layer of paint. Clay barring can also enhance the durability of wax and sealants by decontaminating the surfaces they adhere to.
“As a car detailing expert and business owner, I can confidently say that clay bar treatments are a fantastic tool for removing embedded contaminants from your car’s paint. It’s an essential step in achieving a flawless, mirror-like finish and improving the longevity of protective coatings.” – Faqi Faiz, Managing Director at Incar Detailing
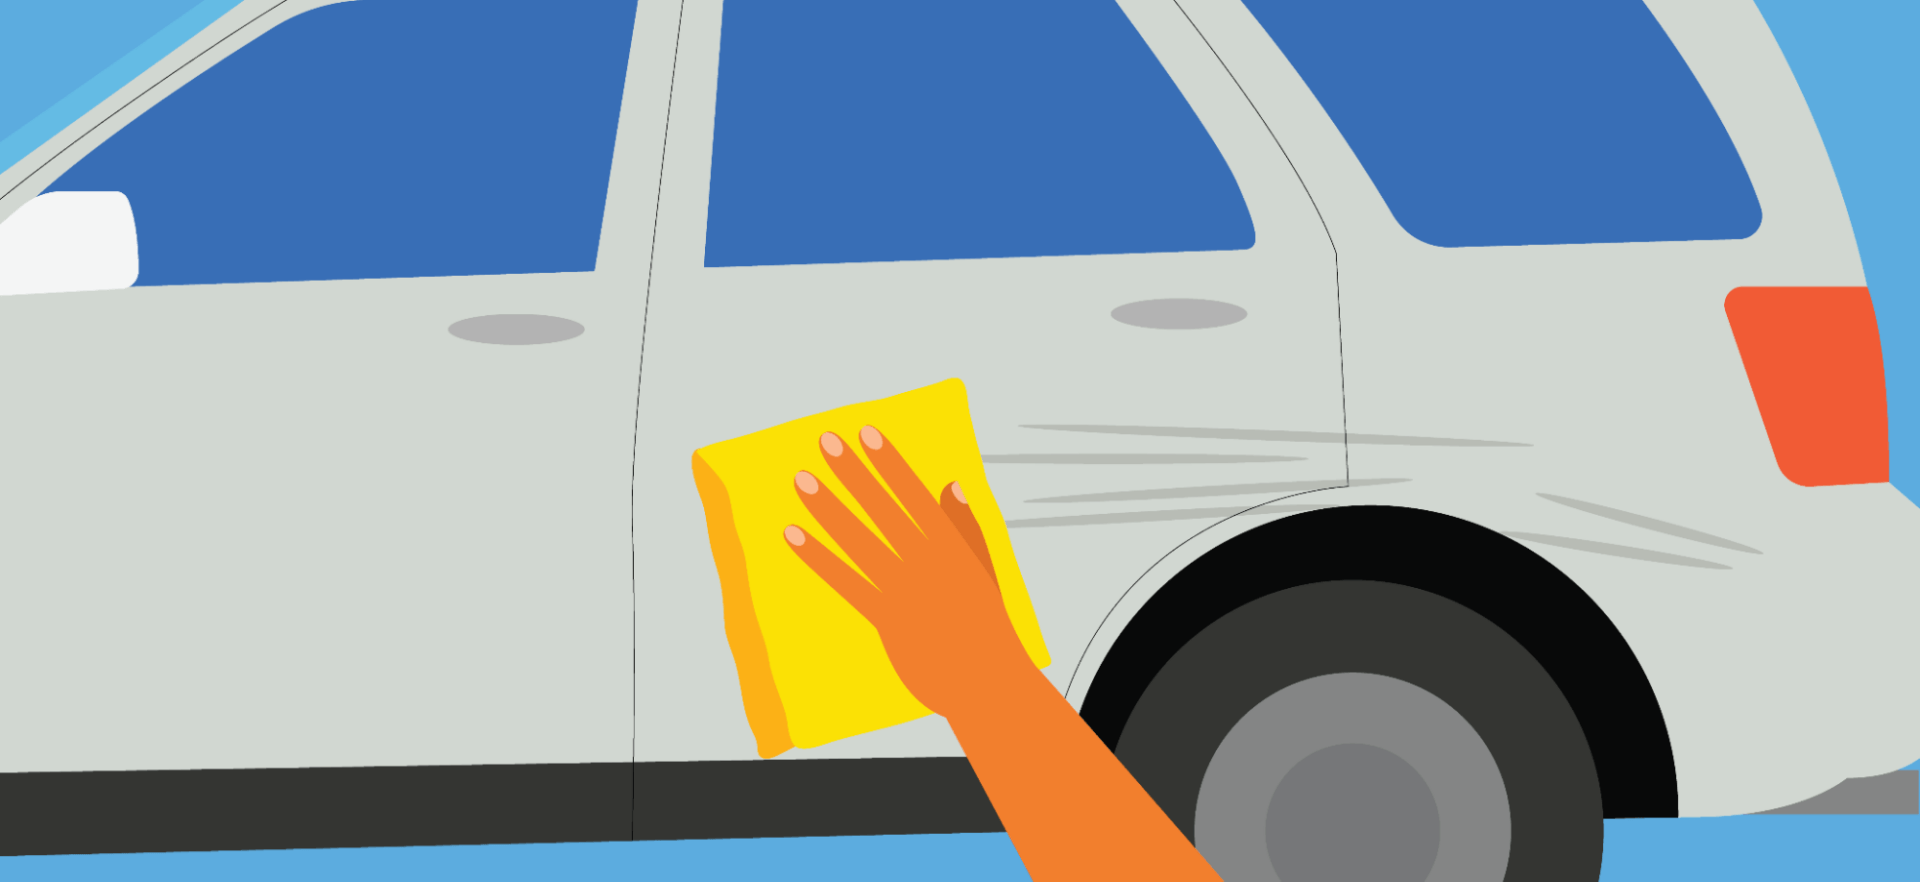
Note, though: clay bar treatments can’t fix existing paint damage. If your car has scratches, you’ll have to look into other methods to restore its smooth finish.

Traffic school can help you keep a clean driving record, prevent insurance increases, and more!
How to Perform a Clay Bar Treatment?
That said, let’s go over the steps needed to do a clay bar treatment at home:
Step 1: Wash and Dry Your Car
Wash your vehicle with soap and water, rinse it thoroughly, and then dry it with microfiber cloths or towels. This will remove any surface-level dust and dirt, leaving only the more stubborn or embedded contaminants that will require clay to remove.
Step 2: Use a Lubricant or Detailing Spray
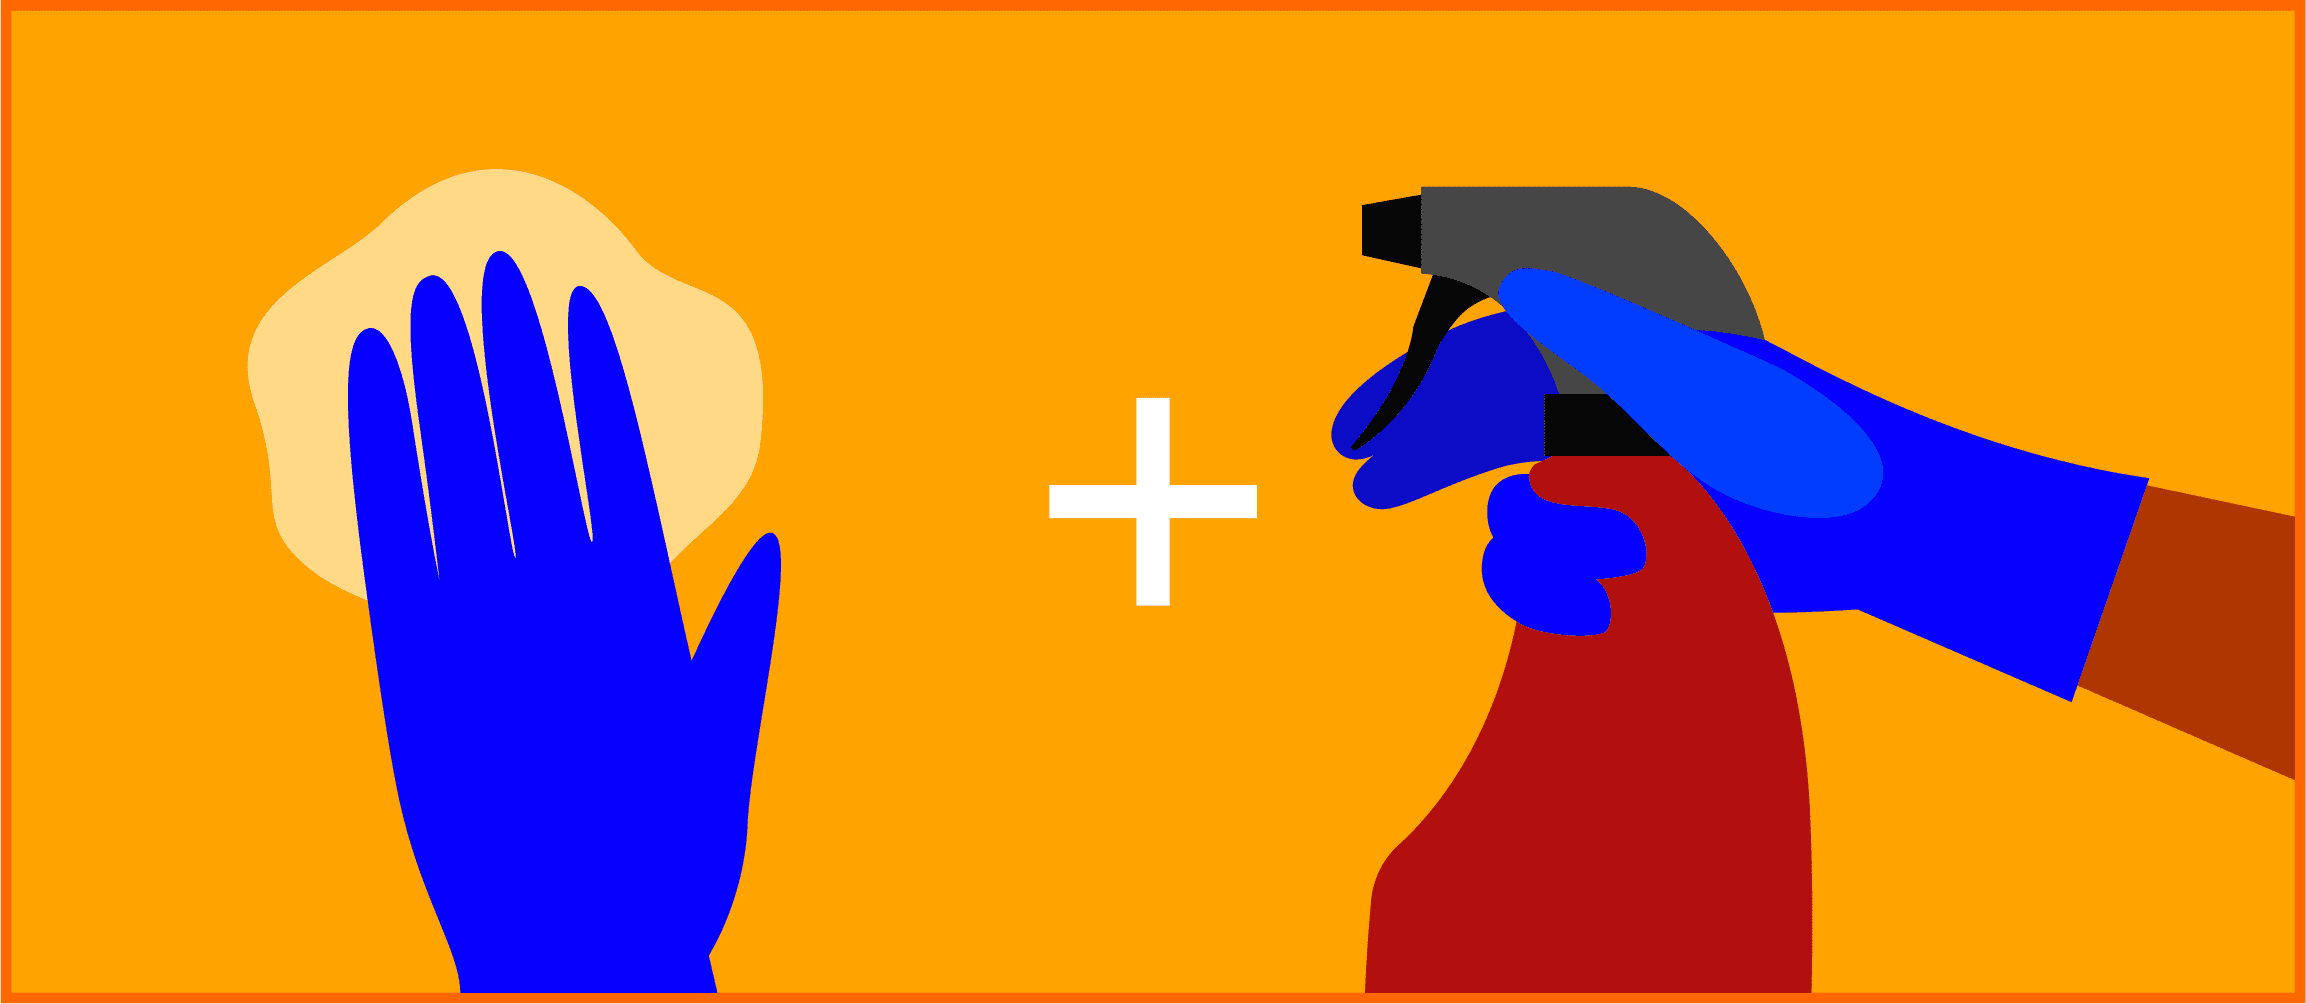
Spray your car down with a lubricant or detailing spray so the particles picked up by the clay don’t scratch the paint.
These products create a slippery surface that allows the clay to glide smoothly, encapsulating contaminants within its structure. As a result, the contaminants are trapped without causing further scratches or damage to the car’s exterior.
Put a quarter-sized amount of lubricant on the clay, then spray it on the vehicle’s surface. Spray from about 12 inches away, making sure the vehicle surface is completely and evenly coated with lubricant.
For best results, work in sections around 2×2 feet in size at a time. When you’re done, use a clean microfiber towel to wipe away excess lubricant or detailing spray.
Step 3: Decontaminate with a Clay Bar
Glide the clay across the vehicle’s surface in a back-and-forth motion. The bar will likely catch and stick in places—those are the spots where it’s picking up contaminants. As a rule of thumb, use little to no pressure. Just let the clay bar do the work.
Gently roll and stretch it across those spots until it glides freely. Once the clay glides smoothly across an entire section without sticking or catching, you’ll know it’s time to move on to the next section.
Step 4: Check the Clay Bar Regularly
As the clay picks up impurities, they will become embedded in its surface. If you continue to use the bar, the debris can scratch your car.
To prevent this issue, check the clay bar every few minutes. If it looks dirty or gritty, flip it over and use a clean side.
When you run out of clean sides, you can fold and mold the clay until it looks clean again. Reach for a new bar if necessary.
Step 5: Check Your Work
After finishing a section of your vehicle, wipe it clean with a microfiber cloth and check your work. If it still appears gritty or uneven, you may need to go back over it with the clay bar.
Step 6: Finish with Wax
Once you’ve finished claying the entire vehicle, use a microfiber towel to remove any residues. Next, apply car wax to fill and seal the gaps left by contaminants.
Always wax your car immediately after a clay bar treatment. This will ensure the newly exposed surface is protected against further contamination.
Avoid These Common Clay Barring Mistakes
There’s not much that can go wrong when claying a car. However, certain mistakes can affect the results and, in some cases, damage the paintwork.
With that in mind, here’s what you should NOT do when performing a clay bar treatment:
- Skipping the wash: Without prior washing, the clay can pick up sand, grit, and other abrasive particles. As you glide the bar over your car’s surface, those impurities can cause scratches or swirl marks in the paint.
- Not applying enough lubricant: Car lubricants allow the clay bar to glide smoothly over the paint surface. Using too little or no lubricant can lead to scratches.
- Using too much pressure: This common mistake can damage the paintwork, so it’s best to use little or no pressure when handling the clay bar.
- Working in direct sunlight: Excess heat can cause the lubricant to dry out quickly, thus rendering it ineffective and increasing the risk of paint damage. That’s why you should always perform clay bar treatments in a shaded area.
Skipping waxing and polishing: Along with clay bar detailing, waxing and polishing protect your car’s paintwork from further damage and give it a glossy finish. If you skip these steps, the clay bar treatment will be less effective. - Using a worn-out clay bar: A typical clay bar can last for months but will get dirtier with each use. Failing to replace it on time can lead to poor results and increase the likelihood of scratches.
Not working in sections: Break up each area into smaller sections to make sure you don’t miss any spots. For example, divide the hood into three or more areas instead of claying it all at once.
Avoid these common mistakes, and your car will feel smooth to the touch—as if it has just come out of the showroom.
The paint will look brighter and more vibrant because the contaminants dulling its shine have been removed. If you had visible rail dust before the treatment, you should see significant improvements.
However, do keep in mind that clay barring can sometimes leave marring on your car’s surface, particularly if you’ve used a medium or heavy clay bar. This is normal and can be corrected with a round of polishing.
“If you’re new to detailing, it’s okay to do it yourself on smaller sections, but be cautious. If mishandled, you could introduce micro-scratches, which would then need polishing to correct. For best results, or if your car has a darker or delicate finish, consider having a professional handle it.” – Faqi Faiz, Managing Director at Incar Detailing
How to Choose the Right Clay Bar?
There are several types of clay bars available on the market, and each has distinct properties. The most common options include:

- Fine clay bars: These are typically the most gentle, which makes them ideal for removing minor contaminants like dirt and fresh tar. They are less likely to mar the vehicle’s surface and are excellent for maintaining already well-kept cars.
- Medium clay bars: These are more aggressive than fine clay bars and can remove more stubborn contaminants. They’re best suited for cars exposed to average to heavy contamination.
- Heavy clay bars: These are the most aggressive types of clay bars. They are best used on cars with severe contamination, such as overspray. Note that while heavy clay bars are effective at removing contaminants, they might leave marring on the surface, which needs to be removed by polishing.
Choosing the right clay bar depends on the level and type of contamination, as well as on your experience.
Generally, it’s best to start with a finer clay bar. Use it on a small section to see if it gets the job done. If not, try a medium or heavy clay bar.
The problem is that clay bar grades are not standardized.
For example, a medium clay bar may be more or less abrasive, depending on the brand. With that in mind, check the manufacturer’s instructions and read customer reviews before placing your order.
Also, note that most clay bars on the market are synthetic. Natural clay bars are typically used by detailing professionals and come with a higher price tag. These tend to be efficient, but also more abrasive. If you’re new to claying, a less aggressive bar will decrease the likelihood that you damage your vehicle.
Apart from that, you can choose from different sizes and shapes. Our recommendation is to choose a large clay bar, as it can get the job done faster. Plus, you can cut it into halves or quarters and use each piece as needed.
What is a Clay Bar Kit?
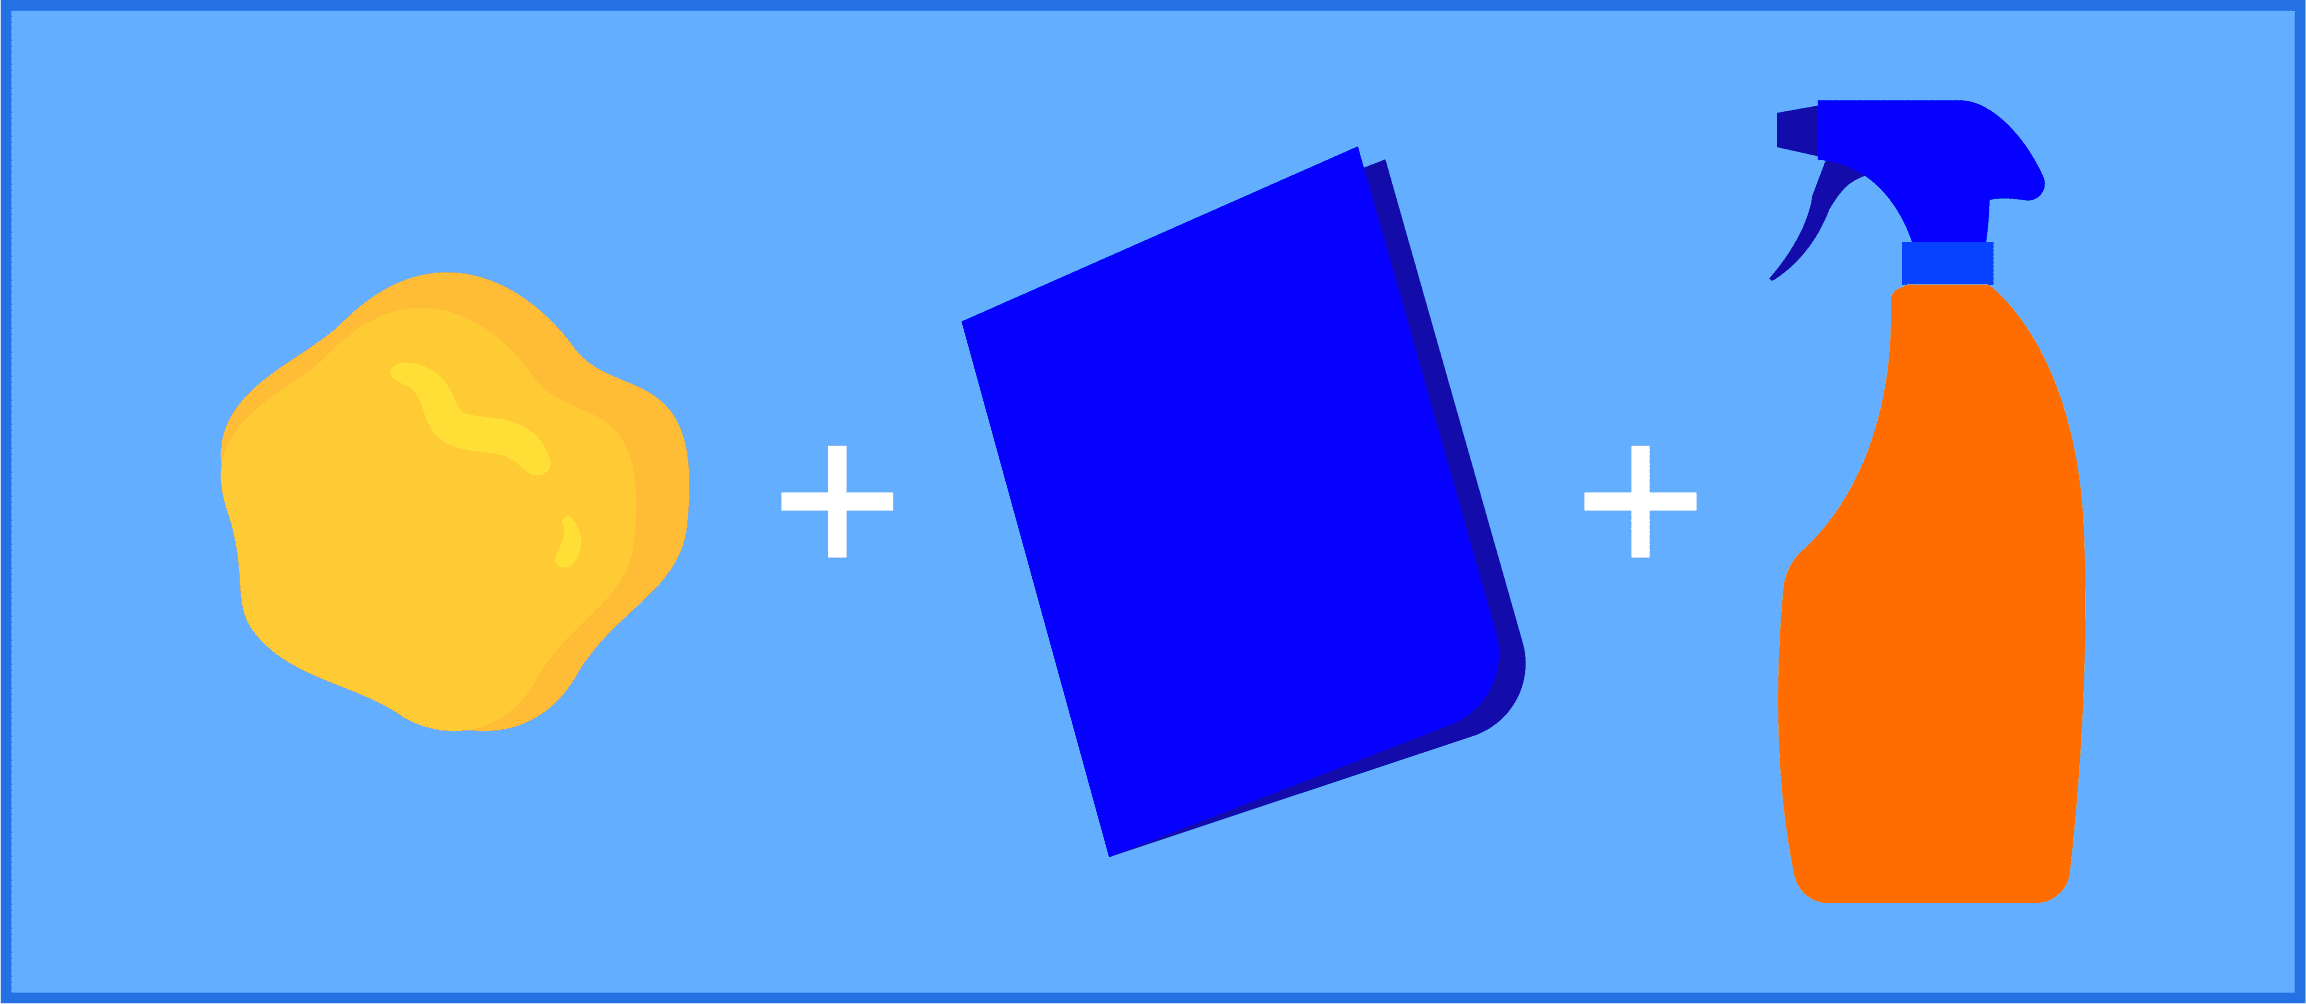
Kits typically come with:
- Clay bars. A typical kit should contain anywhere from 2-8 ounces of clay.
- Microfiber towels. Microfiber cloths and towels are essential tools for car detailers because they don’t leave behind any lint.
- Detailing spray or lubricant. This is essential to the claying process, because claying a dry car surface can scratch the car by pulling dust, dirt, and other particles across it. By using detailing spray or lubricant before a clay bar treatment, you ensure that the clay can glide smoothly across the surface of the vehicle.
Some kits may also include a microfiber wash mitt for added convenience, a storage box to keep your clay fresh, and a detailed instruction guide to ensure you get the most out of your clay bar treatment.
Clay Bar Alternatives
While a clay bar treatment is the best way to remove pollutants and contaminants from your vehicle’s exterior, it can be an intimidating process, particularly if you’ve never done it before.
Synthetic clay mitts and towels are good alternatives as they offer similar results with a slightly easier and faster application process. But remember, while they may be more convenient, they don’t offer the same level of precision as a traditional clay bar.
One alternative to a clay bar is a clay mitt. These are microfiber and rubber gloves that you can use to clean your vehicle and improve its overall look. While they will remove some pollutants and contaminants, they aren’t as effective as clay — though they’re easier for beginners to use and run less risk of damaging your vehicle.
If you’re intimidated by the idea of doing a clay bar treatment at home, but still want to clean and protect your vehicle, consider having a professional detailer do the claying for you.
Clay Bar Maintenance Tips
The lifespan of a clay bar depends on how much dirt it picks up and how often you use it. Other factors, such as its size and quality, come into play, too.
Generally, you can expect it to last a few months to a year or longer. However, some people throw away their clay bars after just one use.
The best thing you can do to make your clay bars last longer is store them in their original containers, an airtight container, or a zip-top bag. A glass or plastic jar will do the trick, too. What matters most is to prevent contamination.
Note that if you do drop your clay, you’ll have to throw it away and get a new piece. Otherwise, it will pick up dirt and dust from the ground, which could damage your car’s surface.
Apart from that, you should also do the following the extend the lifespan of your clay bar:
- Knead it regularly to distribute the contaminants evenly and keep the clay effective for longer
- Use quality lubricants to prevent the clay from sticking to the paint
- Keep the clay bar away from moisture to prevent mold growth
- Rinse it with water after each use
- Let the clay dry before storing it
- Store the clay bars away from direct sunlight
Some car owners also store their clay bars in jars with distilled water. We don’t recommend this practice because it could alter the clay composition.
Just make sure you store them in a clean, dry place, away from heat, sunlight, and potential contaminants (e.g., dusty shelves).
Frequently Asked Questions (FAQs) About Clay Bar Treatment
How often should I perform a clay bar treatment on my car?
Perform a clay bar treatment at least twice per year. Do it as often as needed if you live in an area with a lot of industrial fallout, dust, or frequent acid rain.
If you drive infrequently or keep your car inside a garage when it isn’t being used, you might be able to go longer in between treatments.
A good way to see if your car could use a clay bar treatment is to simply rub your hand along its exterior surfaces. If they feel rough or gritty, it’s probably time for a clay bar treatment. Signs like visible contaminants or a lack of shine in your car’s appearance may also indicate the need for clay bar detailing, too.
Can clay bar treatments damage my car’s paint?
When done correctly, clay bar treatments won’t damage a car’s paint. However, more aggressive clay bars can mar the car’s surface. Most regular clay bar users say have they done it for years with no ill effects.
Do I need to wax my car after using a clay bar?
It’s always a good idea to apply wax or sealant to your car’s paint after using a clay bar. Not only does this enhance the shine, but it also creates a protective barrier against future contaminants.
Is it recommended to do clay bar treatments at home?
Clear bar detailing is time-consuming and requires a lot of patience. However, it’s safe and can yield great results if done correctly. So, there’s nothing wrong with taking a DIY approach.
Always start with the least abrasive clay bar and use a harsher one only if necessary. And be sure to follow our guidelines on how to do it correctly!
Can I use soap and water instead of a clay lubricant?
Soap and water may not provide adequate lubrication for clay bars. With this approach, the clay can stick to the paint and cause scratches or marring. Additionally, regular soap can leave residues on the vehicle’s surface.
Should I first clay or polish my car?
Generally, it’s best to polish your car after claying it. The clay bar treatment will clean and smooth its surface, leaving it ready for polishing. For even better results, look into ceramic car coating (which can be done after clay barring).
Does clay barring remove paint scratches?
Clay bar treatments cannot remove paint scratches and other flaws. However, they may help prevent these issues from occurring due to contaminants like road grit, bird droppings, or dried bugs.


