Are the plastic surfaces in your car starting to look a little worse for wear? With pet hair, crumbs, dust, and more easily piling up and accumulating on the plastic surfaces in your car, it’s no wonder the once pristine interior can turn into an unattractive and potentially unhygienic environment.
If you’re wondering how to clean car interior plastic, you’ve come to the right place. This comprehensive guide will walk you through the process, helping you restore your vehicle to its day-of-purchase glory. Follow along for a complete list of tools and materials you need and expert tips on tackling different surfaces and types of stains.
Basics of Cleaning Car Interior Plastic
Remember, regular cleaning can not only keep your car’s plastic interior looking pristine but also prolong its life. By taking a few precautions and following these general techniques, you can maintain a clean, comfortable, and safe environment inside your car.

General Techniques:
- Start with a Vacuum: Before you wet any surface, begin by vacuuming to remove loose dirt, debris, and pet hair. This will make the rest of the cleaning process more effective.
- Mild Soap and Water: For most plastics, a mild soap and lukewarm water will be enough to clean the surface. Mix a few drops of mild dish soap with water in a spray bottle and shake well.
- Soft Cloth or Sponge: Always use a soft cloth or sponge to clean plastic surfaces. Avoid abrasive materials that can scratch the plastic.
- Circular Motion: When cleaning, use gentle, circular motions to lift dirt and stains. This ensures even cleaning and minimizes streaks.
- Rinse and Dry: If you’ve used a soap solution, wipe down the plastic with a clean cloth dampened with water to remove any soap residue. Follow up by drying with a soft, microfiber cloth.
Precautions:
- Test First: Before applying any cleaning solution or product, test a small inconspicuous area first to ensure it doesn’t discolor or damage the plastic.
- Avoid Harsh Chemicals: Stay away from bleach, ammonia, or other harsh chemicals which can damage or discolor the plastic. Instead, look for cleaners specifically designed for car interiors.
- Watch Out for Electronics: Be cautious when cleaning around electronic controls or displays. Avoid allowing liquids to seep into these areas.
- UV Protection: After cleaning, consider applying a UV protectant product to plastic surfaces. This can prevent fading or cracking from sun exposure.
- Keep Windows Open: If using any cleaning agents, it’s a good idea to keep the car windows open for ventilation. This will disperse any fumes and help surfaces dry more quickly.
Traffic school can help you keep a clean driving record, prevent insurance increases, and more!
Essential Tools and Materials for Cleaning Car’s Interior Plastic
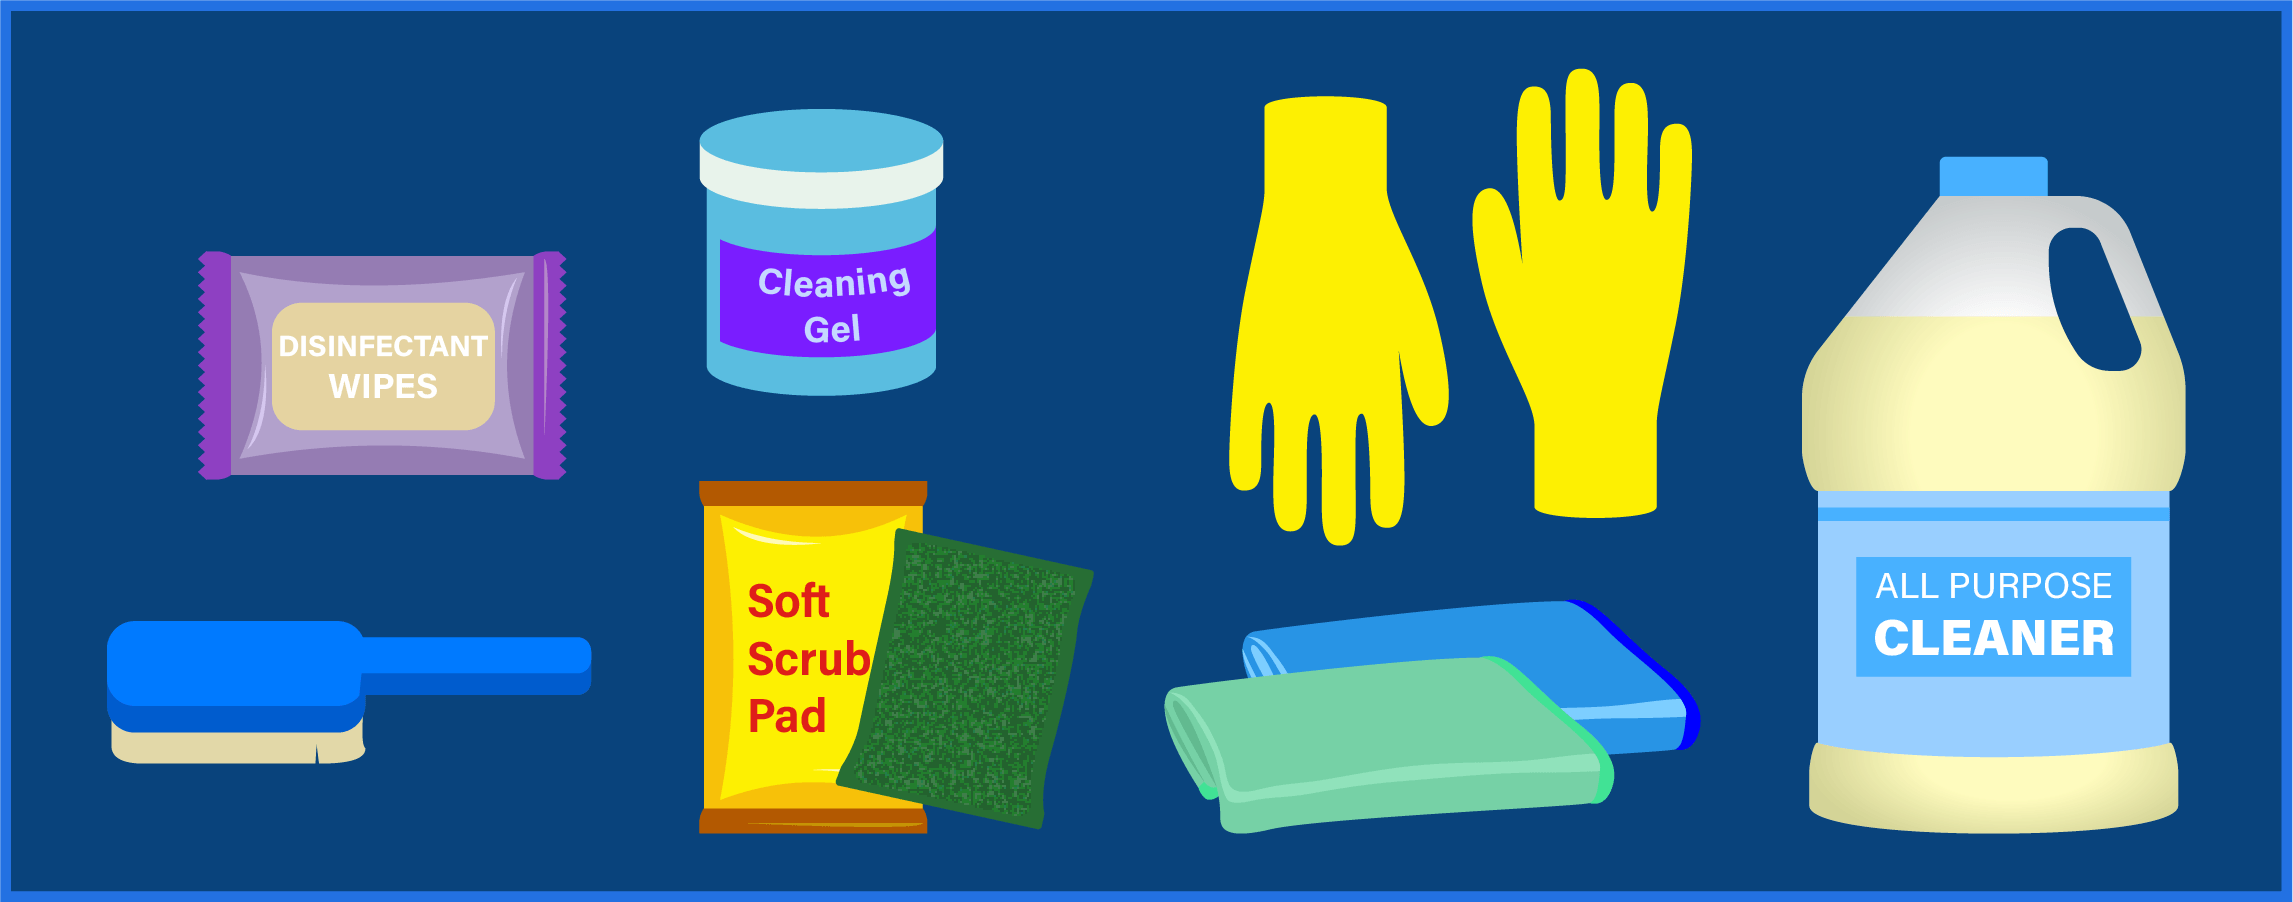
Cleaning a car’s plastic interior requires specific tools and products to ensure effective cleaning without causing damage. Here’s a curated list of essentials to keep at hand:
- All–Purpose Cleaner: Avoid the temptation to use heavy-duty household cleaning agents like bleach. Instead, opt for a reputable all-purpose cleaner designed especially for car interiors. These formulations are gentle on plastics yet effective against dirt and grime.
- Microfiber Cloths: The right wiping tool is crucial. Microfiber cloths are your best bet, thanks to their soft texture and ability to provide a streak-free finish. Avoid abrasive materials that might scratch or damage the plastic and steer clear of paper towels, which can leave a residue.
- Disinfectant Wipes: Hygiene is paramount, especially in the close quarters of a car interior. Use bleach-free disinfectant wipes to eliminate bacteria and germs without harming the surfaces.
- Soft Scrub Pad: For those stubborn stains, a soft scrub pad can be your ally. However, always use it gently. Aggressive scrubbing can remove color or mar the plastic surface.
- Fine Bristle Brush: For super-resistant stains or intricate grooves, a fine bristle brush can come in handy. Ensure it’s not too wide to avoid potential scratching. Always brush gently.
- Plastic Gloves: Your skin’s safety is essential. Many cleaning agents, even if formulated for vehicles, can be harsh on the skin. Wearing gloves not only protects your hands but also ensures no oils or dirt from your skin transfer back onto clean surfaces.
- Cleaning Gel: Some parts of your car, like vents or intricate designs, have small nooks that traditional cleaning tools can’t reach. A cleaning gel is perfect for these spots. This pliable substance can mold into tight spaces, ensuring every inch of your car shines.
Step-by-Step Guide to Cleaning Car Plastic Interior
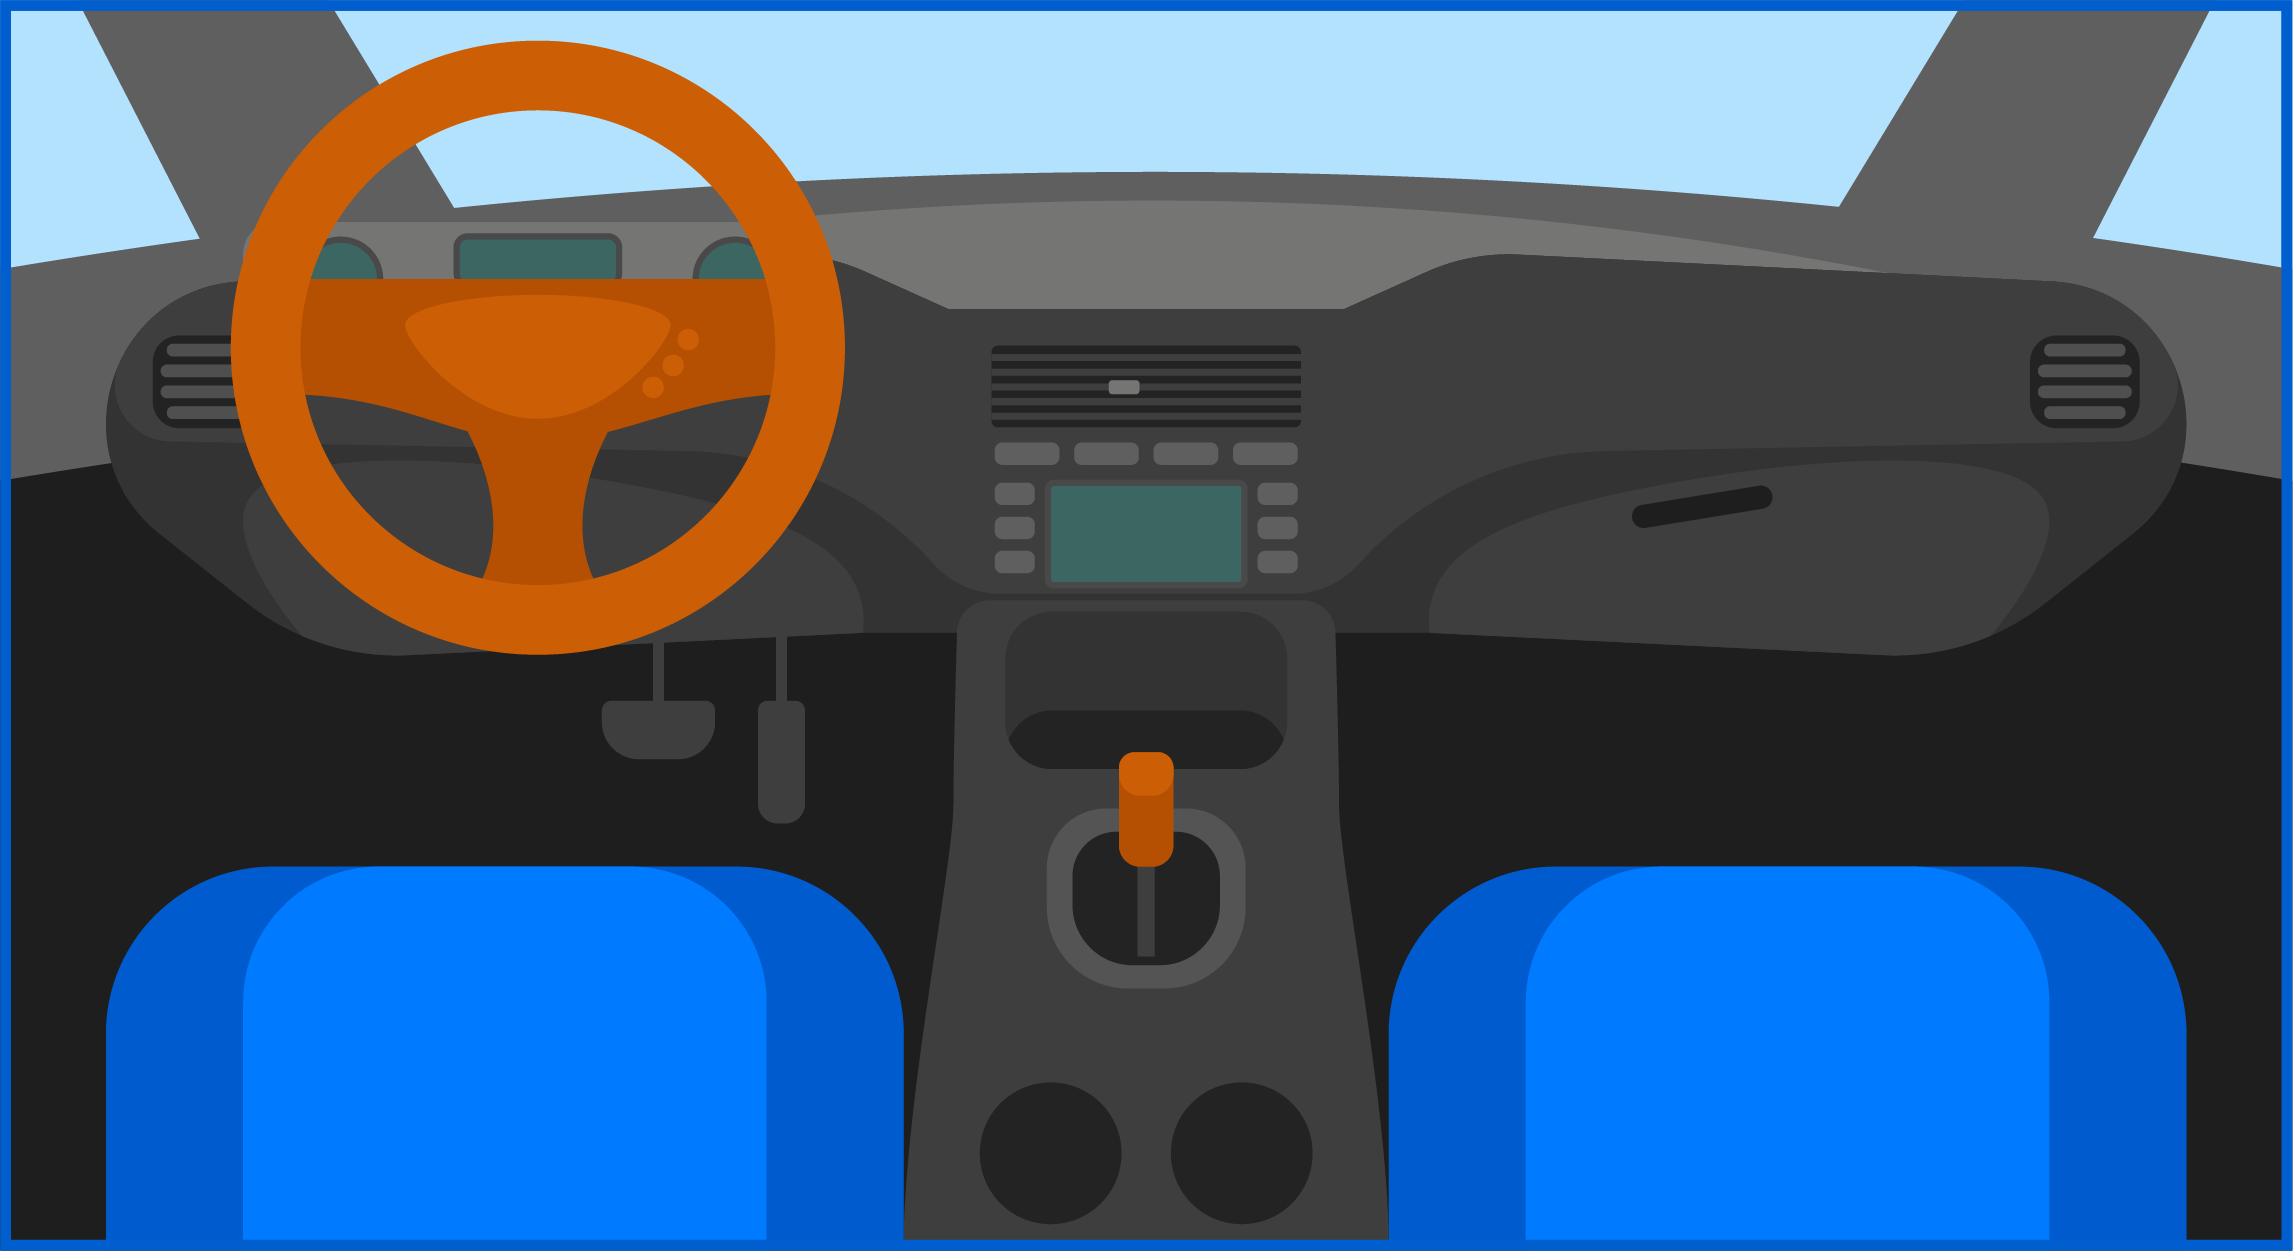
Pre Cleaning Preparations
Before we dive into the nuances of different surfaces and tough stains, let’s start with the foundation: basic cleaning. It sets the stage for every other advanced technique you might employ later on.
Begin your cleaning regimen by decluttering the interior of your vehicle. We often overlook how many personal items accumulate over time. Remove all personal items from areas like the cup holders, consoles, and door pockets. This not only provides a clear workspace but also prevents any damage or misplacement of items.
With a clearer space, start with a gentle dusting of all surfaces using a microfiber cloth. This simple action removes the surface layer of dust and is especially crucial for areas that house sensitive electronics or screens. Following this, a quick vacuum session is in order. Use a vacuum to whisk away any larger debris, especially focusing on those tricky crevices and hard-to-reach spots.
Now, when it comes to cleaning agents, not all are created equal. Opting for a high-quality all-purpose cleaner, specifically designed for car interiors, ensures that it is both gentle on plastics and effective against the typical dirt and grime of cars. Spray your cleaner onto a microfiber cloth. Using this cloth, gently wipe down surfaces. The beauty of microfiber is in its dual-action – while it delicately handles plastics preventing any scratches, it also ensures a streak-free and residue-free finish. Your car interior isn’t just about the look; it’s about preserving its longevity.
- Steering Wheel:
- Put gloves on to avoid transferring anything from your hands onto the steering wheel.
- Spray some all-purpose cleaner into a microfiber towel or scrub brush and gently clean the surfaces, paying extra attention to where your hands frequently grip the steering wheel.
- Be gentle with any electronics. If your steering wheel has controls, avoid spraying cleaners directly on the steering wheel.
- Dry with a soft clean cloth.
- Dashboard:
- Begin by dusting off any loose debris with a duster or microfiber cloth.
- Use a cloth slightly damp with an all-purpose cleaner to clean any plastic surfaces, avoiding screens and gently working on electronics.
- Dry with a soft clean cloth.
- Cup Holders:
- Remove your cup holders and bring them inside your sink if you can.
- Mix a dish soap and warm water solution or an all-purpose cleaner and warm water.
- Dampen a microfiber cloth or sponge, and gently scrub the cup holder, paying extra care to corners and crevices.
- Wipe cup holders dry with a clean cloth and dry them thoroughly before returning them to your vehicle.
- Center Console:
- Remove all belongings and trash from the center console.
- Use a vacuum to remove any loose dust and debris.
- Clean with disinfecting wipes, then follow up with an all-purpose cleaner on a microfiber cloth. Clean any corners or crevices with a more precise tool, like a toothbrush or fine bristle brush.
- Dry thoroughly before putting any belongings back inside.
- Plastic Trim:
- Prepare all surfaces and trim with a duster or microfiber cloth and vacuum.
- Wipe down with disinfecting wipes, followed by all-purpose cleaner on a soft cloth.
- Dry surfaces with a clean cloth.
- Air Vents:
- Open air vents completely and use a duster to remove surface debris.
- Wipe down the best you can with disinfecting wipes.
- Use car cleaning gel or a Q-Tip to get into the vent openings. Be gentle with the plastic parts, and don’t apply too much pressure.
- Door Panels:
- Prepare door panels with a duster and disinfecting wipes.
- Use all-purpose cleaner on a cloth to wipe down and clean all surfaces, avoiding any excess moisture around electronics like locks and window controls.
- Dry thoroughly with a soft clean cloth.
Tackling Stubborn Stains and Spills

There will always be some stains that are tougher than others and will need extra attention or targeted cleaning techniques. In this section, we’ll be covering some of the most common ones and how to handle them:
- Food and Drink: The best thing you can do with a food or drink stain is to act fast, blotting and cleaning up everything you can with a clean paper towel or cloth. We recommend keeping some in the car, just in case. Once you’ve picked up everything you can, scrub gently with all-purpose cleaner on a clean cloth. For tough, dried stains, a baking powder and water paste can help loosen things and prepare the surface for cleaning.
- Grease and Oil: Any greasy or oily stains should be approached with the utmost care. Using the wrong degreaser can lead to permanent damage to the plastic surface. You can avoid damage by first spot-cleaning a separate clean area to see how the plastic reacts. Put some all-purpose cleaner in a cloth, then work your way from the outside to avoid further spreading the stain around. Repeat until you’ve cleaned everything, then follow up with a clean soft cloth.
- Ink: If a pen breaks in your car, you may wind up with ink on some of your plastic surfaces. Treat as soon as possible and try to blot up any of the ink before it dries. Then, use a small amount of isopropyl alcohol on a cloth until the ink transfers to it. Follow up with an all-purpose cleaner and gently scrub if needed.
- Sticky Stains: Try to act fast and remove sticky stains like gum or glue before they dry. If they can dry, gently scrub them using a bristle brush with an all-purpose cleaner. Wipe down with a cloth damp with water before drying the area.
- Blood: When dealing with a blood stain, you must protect yourself with gloves or other protective gear. Try to act as fast as you can and blot up as much of the blood as possible using a rag damp with cold water. Follow up with a soft scrub using all-purpose cleaner, then allow it to dry fully.
Avoiding Common Cleaning Mistakes
The inside of our cars often reflects the rush of our daily lives. However, in the scramble to wipe down and refresh those plastic surfaces, there are a few common mistakes to watch out for.
- Product Selection: The cornerstone of effective cleaning lies in choosing the right cleaning product. Aim for an all-purpose cleaner that’s free from harsh chemicals like ammonia and bleach. Such chemicals can wreak havoc on plastics and electronics. A general rule of thumb: always scrutinize the label and heed the manufacturer’s instructions.
- Gentle Cleaning: Tough stains might beckon a vigorous scrub, but resist the temptation. Excessive force can harm the plastic. For wet messes, blotting is your best friend—this initial step can prevent the spread of the spill.
- Measured Application: In the confines of a car, a little cleaner goes a long way. Spraying directly might saturate unintended areas like screens and buttons. To be safe, always spray your cleaner onto your cleaning tool—whether that’s a cloth or a brush.
- Holistic Cleaning: Cleaning in isolation can often lead to double work. Imagine cleansing your plastic surfaces to perfection, only to have dust from the nearby seats settle on them. To prevent this, it’s wise to clean the entire interior in tandem.
Ensuring our car interiors are spotless not only enhances aesthetics but plays a pivotal role in preserving their functionality. With that in mind, how can one maintain this pristine condition?
Protecting and Maintaining Plastic Surfaces

Keeping a bottle of wipes in your car is a great way to keep cleaning fresh on the mind and can help you to remember to give your surfaces a once-over every few weeks or as needed. Likewise, you’ll be more apt to tackle spills and stains as soon as they happen if you have cleaning products ready to go.
Additionally, consider purchasing some kind of protectant or polish. Some products can be applied (remember to use a cloth, not spray directly on) to plastic surfaces in your car that repel dirt and dust from accumulating. These should only be used on clean surfaces.
Additional Tips for a Complete Clean
Maintaining the sparkling interiors of a car extends beyond just the plastic surfaces. Embracing a holistic cleaning regimen ensures your car not only looks pristine but also remains a hygienic space. Here are some all-encompassing tips to consider:
- Have trash bags or a trash can in your car. Having a place to throw your trash reduces the temptation to stick a crumb-filled or sticky wrapper under the seat or in your door storage.
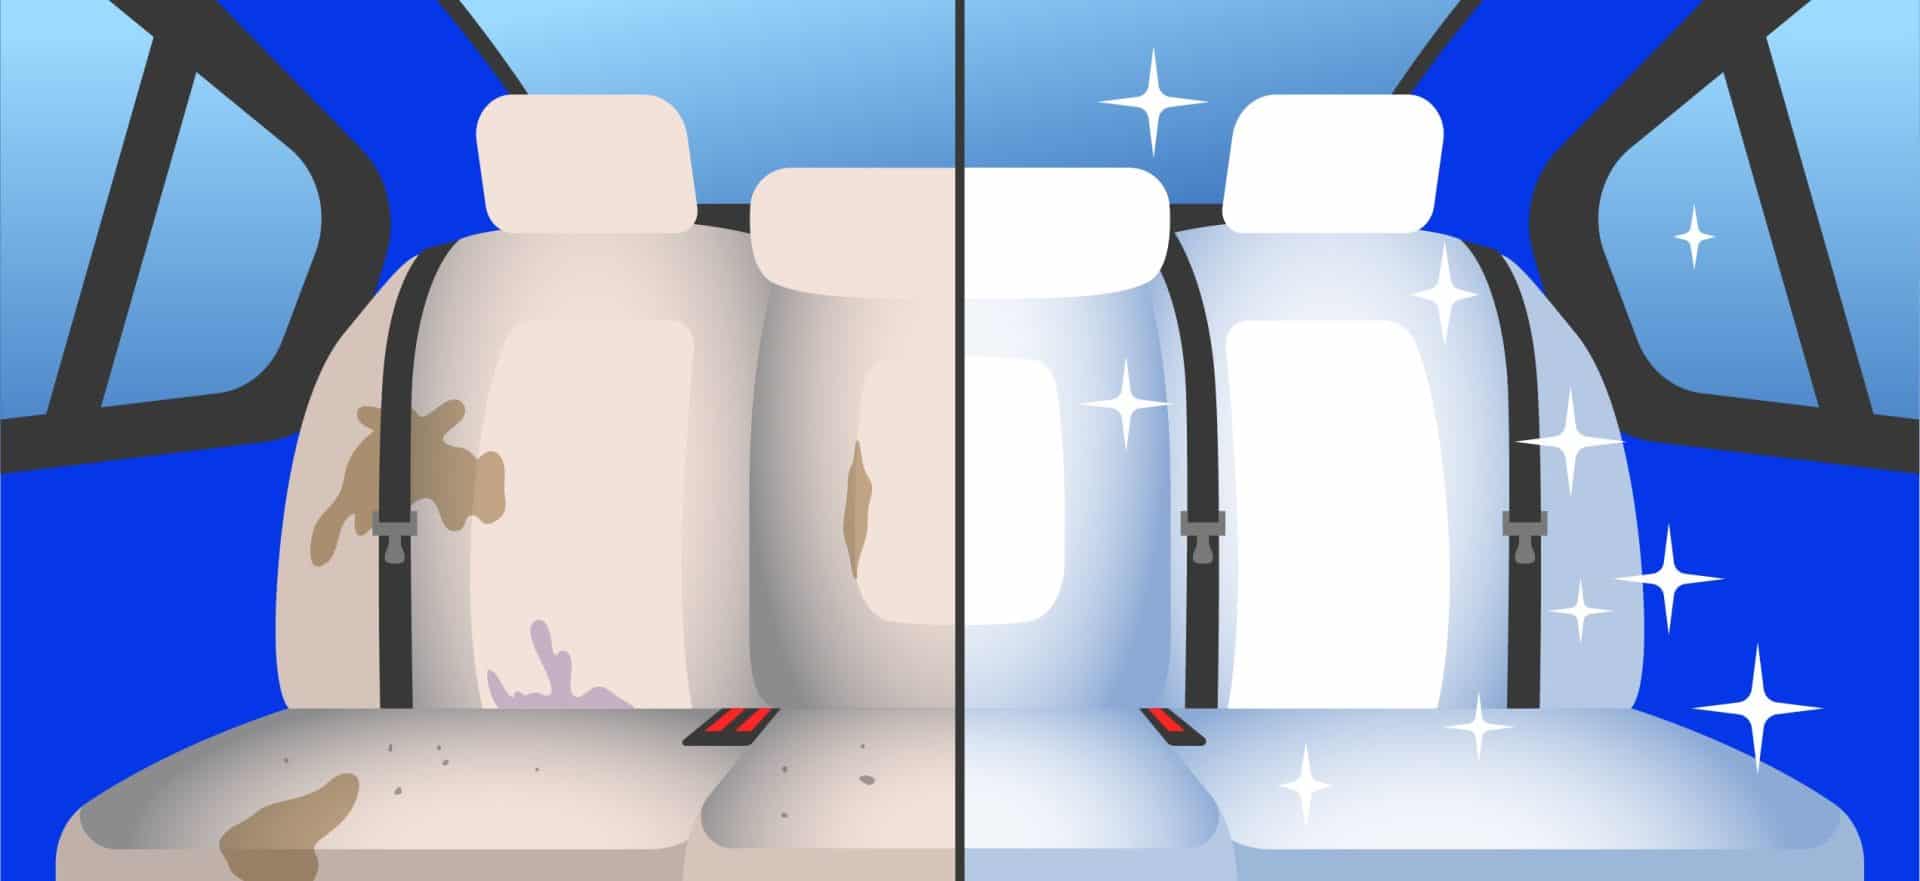
- Clean all interior surfaces at the same time. When treating the plastic surfaces in your car, there’s no better time to take care of some of the other cleaning tasks you’ve been putting off. While you’ve got your cleaning supplies out, use window cleaner, tackle upholstery stains, and keep your floor mats looking fresh with a vacuum.
- Ventilation and Ambience: Cleaning agents, despite their effectiveness, can sometimes leave lingering odors. Post-cleaning, ensure your car is well-ventilated. Letting in fresh air by rolling down the windows or leaving the doors open for a short while can help. Once you’ve cleared the air, a mild air freshener can add the finishing touch. However, moderation is key—overwhelming scents can detract from the overall ambiance.
Understanding the Importance of Regular Cleaning

Cleanliness isn’t just about aesthetics—it’s a testament to care, responsibility, and diligence. The regular upkeep of your car’s plastic interiors carries more weight than one might assume. Here’s why:
- First Impressions Matter: The state of your car can often serve as a reflection of your personality. Whether it’s an unexpected passenger or a planned guest, a clean car can make a profound impression.
- Health Above All: Stains, especially organic ones, can quickly morph into breeding grounds for bacteria or become magnets for pests. Besides, accumulated dust and pet hair can act as allergens, triggering health concerns. A periodic clean-up ensures you’re driving in a healthy environment.
- Preserving Integrity: Plastic, while versatile, isn’t invincible. Extended exposure to stains or environmental factors can expedite wear and tear. Regular cleaning not only enhances the aesthetic appeal but also preserves the material’s integrity.
- Value Proposition: A well-maintained car invariably commands a higher resale value. Conversely, a car with stained interiors might warrant deductions as potential buyers factor in detailing expenses.
- Safety First: A cluttered or dirty environment can be more than just an eyesore—it can be a hazard. Obstructed views from dirty displays or a sticky residue impeding function can divert your attention from the road, posing risks. Keeping your interiors clean is integral to ensuring a safe driving experience.


